From a source file to a checked Unity prefab
- Unity
- 3D asset import
- Prefab
- Validation scene
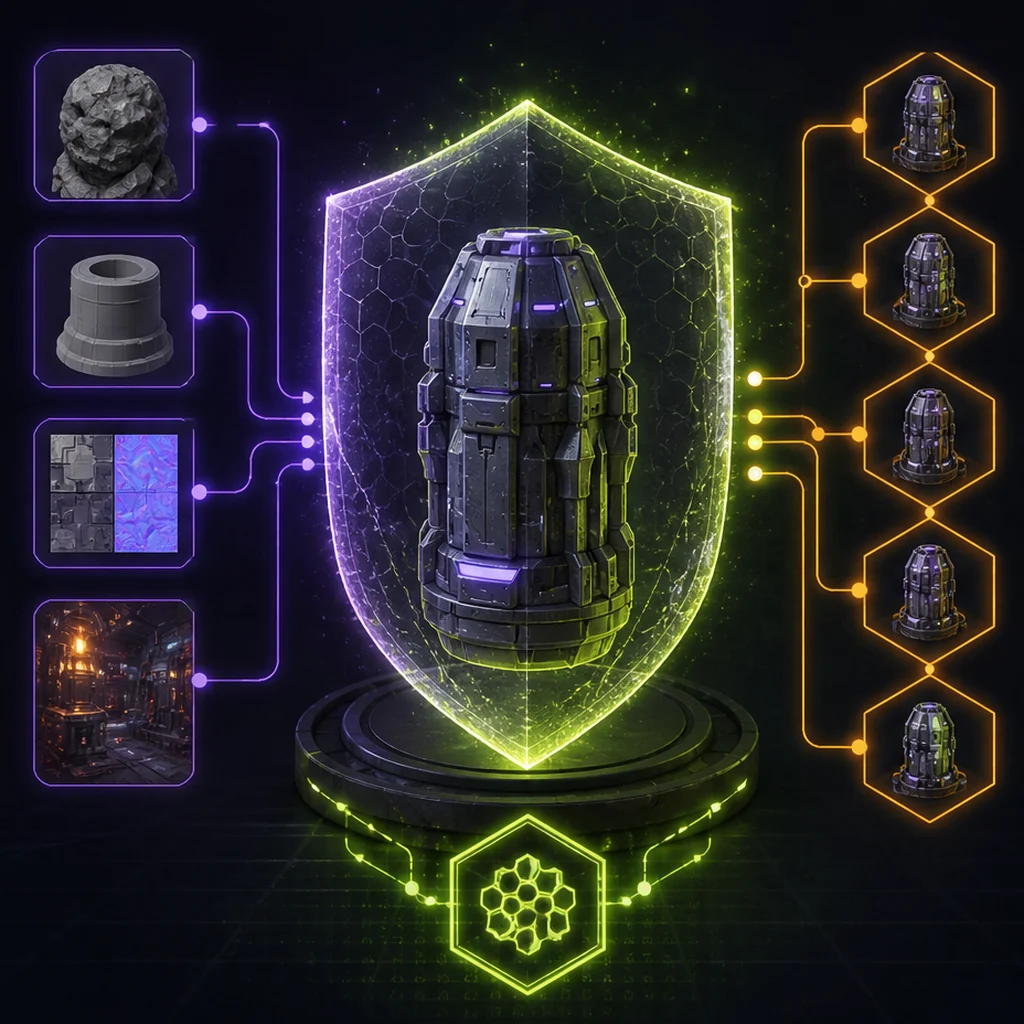
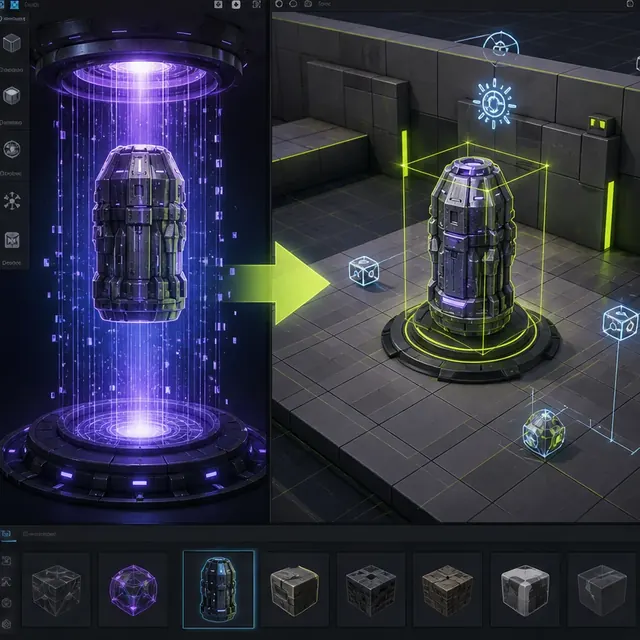
A clean source file
enters Unity through saved import settings.
A prefab
holds gameplay parts, collision and LODs.
A validation scene
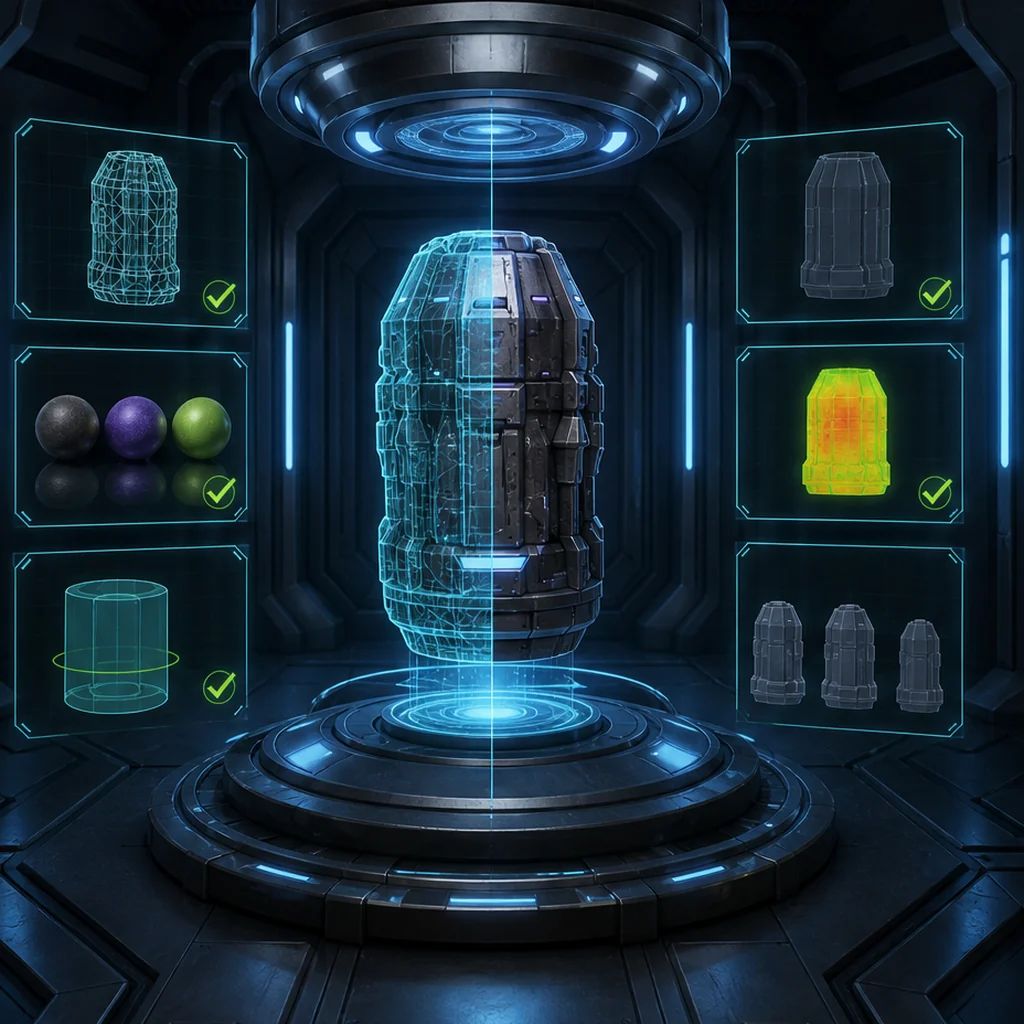
measures appearance and runtime behavior.
Normalize before import
Apply or document transforms, set units and axes, remove hidden geometry, name objects and materials, and put the pivot where gameplay expects it. Keep the raw generator output for provenance, but do not require every teammate to rediscover its assumptions.
Treat import settings as versioned data
Model scale, normals, tangents, mesh compression, read/write access, rig type and animation settings affect both appearance and runtime. Review them deliberately. Reimport after changing the source to confirm the asset remains stable rather than relying on cached state.
Use the repeatable AI 3D benchmark, to compare Unity import and cleanup results across tools and versions.
Use a prefab as the gameplay boundary
The prefab can add colliders, scripts, audio points, VFX anchors and LOD groups without contaminating the source mesh. Separate shared material assets when many generated props should use one calibrated shader. Avoid silently creating a unique material instance for every variation.
Maintain an asset validation scene
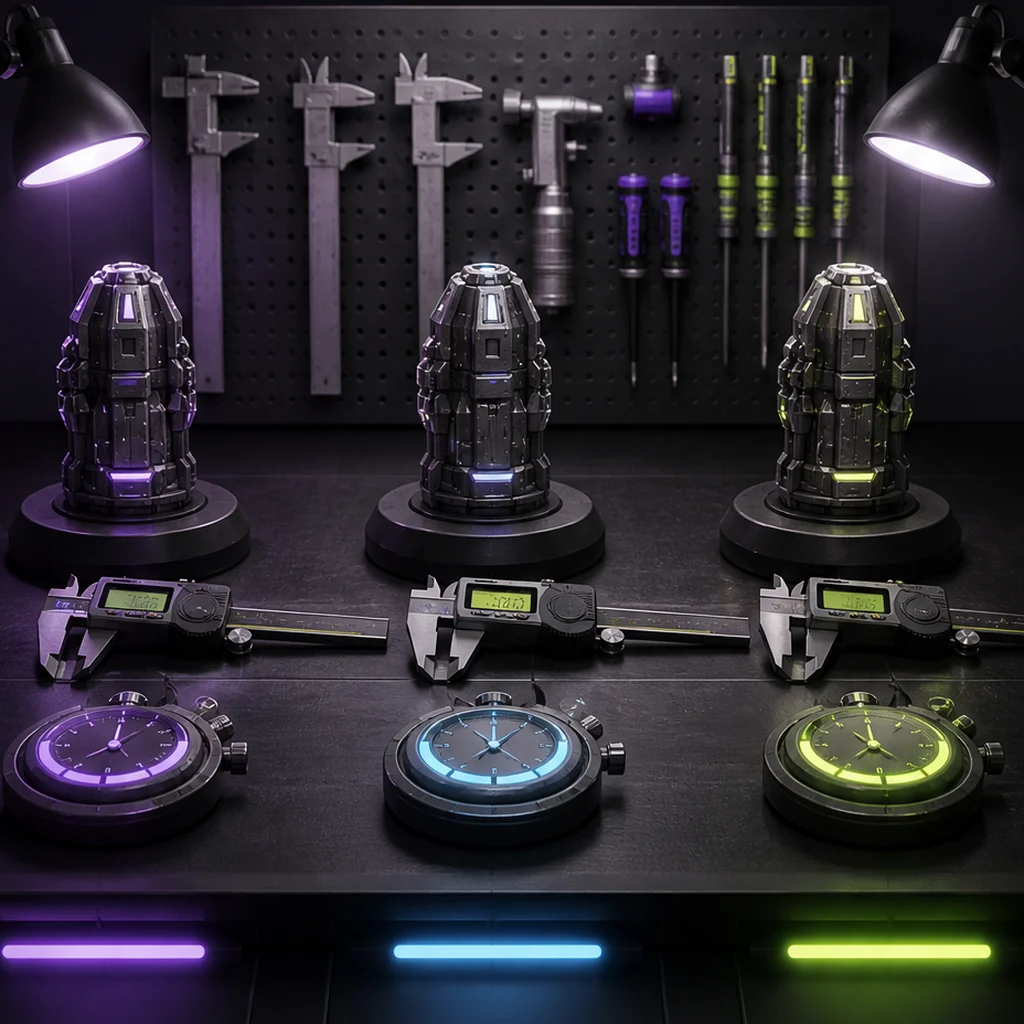
Use neutral and representative lighting, scale references, moving cameras, physics tests and performance capture. Place LOD transitions and collision visibility under easy controls. Test on the minimum target hardware and retain screenshots or profiler captures with the review record.
Validate an AI-generated asset in Unity
Create a Unity validation scene with a scale figure, neutral light, representative project light, moving camera, collider test and visible LOD transitions. Import one untouched generator output and one normalized source through documented settings. Reimport both after a harmless source change. Capture warnings, material differences and profiler readings; the scene becomes a reusable acceptance harness for the next asset batch.
Unity asset pipeline decision points
Raw output plus normalized DCC file
Versioned model and texture settings
Prefab, validation scene and profiler proof
Unity AI 3D asset import checklist
- Archive raw output and normalize a working source.
- Document model and texture import settings.
- Create collision and LODs in the prefab boundary.
- Test materials under project lighting.
- Profile in a validation scene on target hardware.
Questions about AI-generated 3D assets in Unity
Should FBX or glTF be used?
Use the format your pipeline validates most reliably; glTF has standardized PBR semantics, while many established animation workflows use FBX.
Where should generated metadata live?
Keep it beside the source or in an asset-management record that survives renaming and reimport.
How should Unity reimport behavior be tested?
Make a harmless source-file change, reimport it and confirm that scale, materials, rig settings, prefab references, collision and LOD configuration remain predictable.
Apply this production & trust guidance
Set planning envelopes before the asset enters the validation scene: Plan LOD, texture and scene budgets. Resolve geometry failures upstream with: Prepare game-ready topology before Unity import. This keeps Unity import settings from masking defects in the generated source.
Teams shipping on an open-source engine can follow the Godot pipeline for generated 3D assets, which uses the same acceptance record.
Primary sources & technical references
- Unity Manual: importing modelsOpen source ↗
- Khronos glTF specification and resourcesOpen source ↗
- Blender ManualOpen source ↗