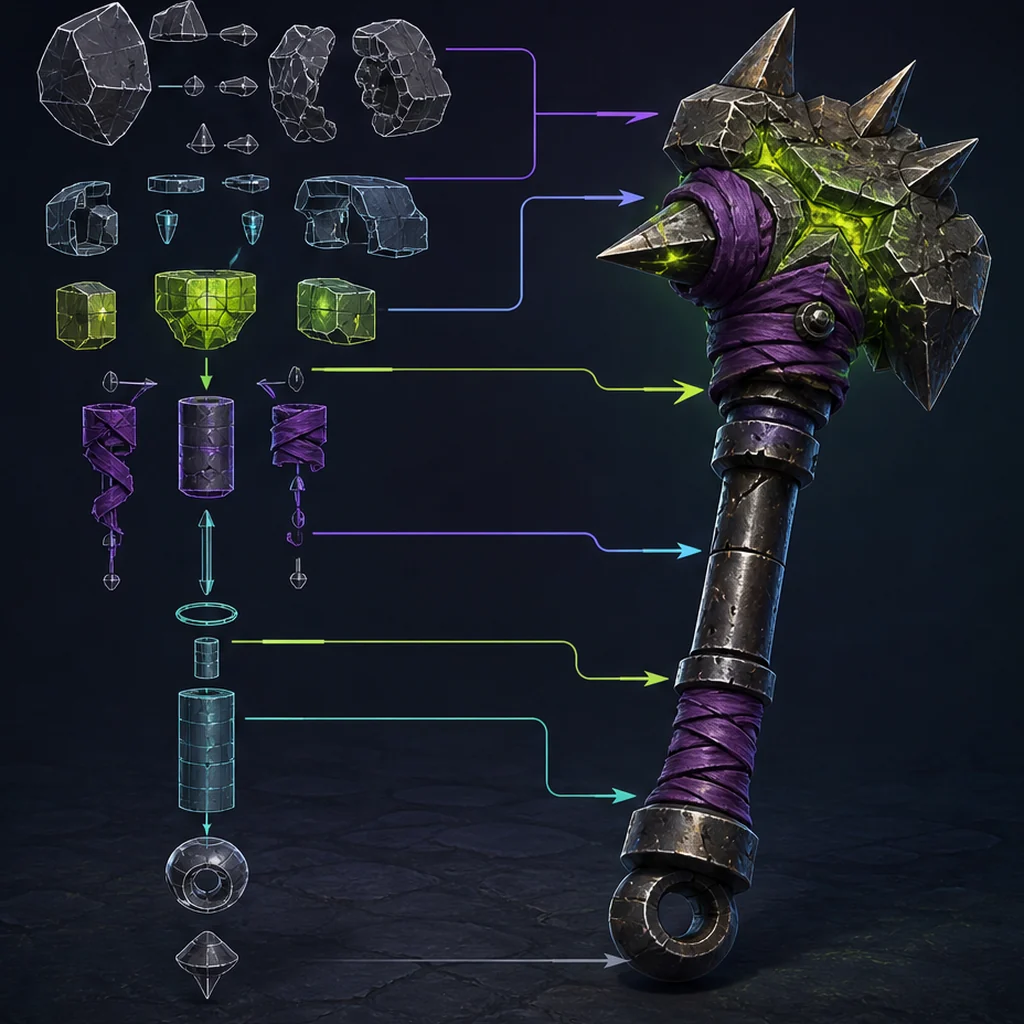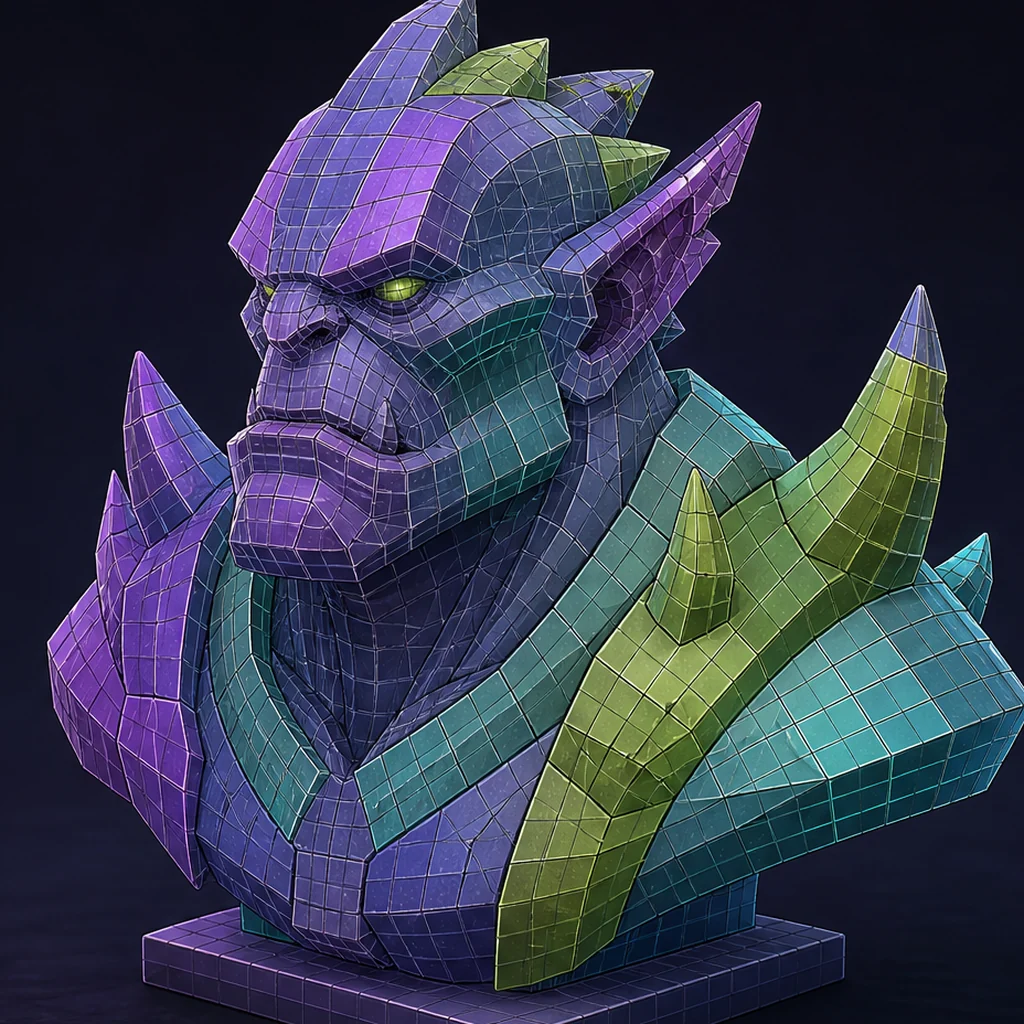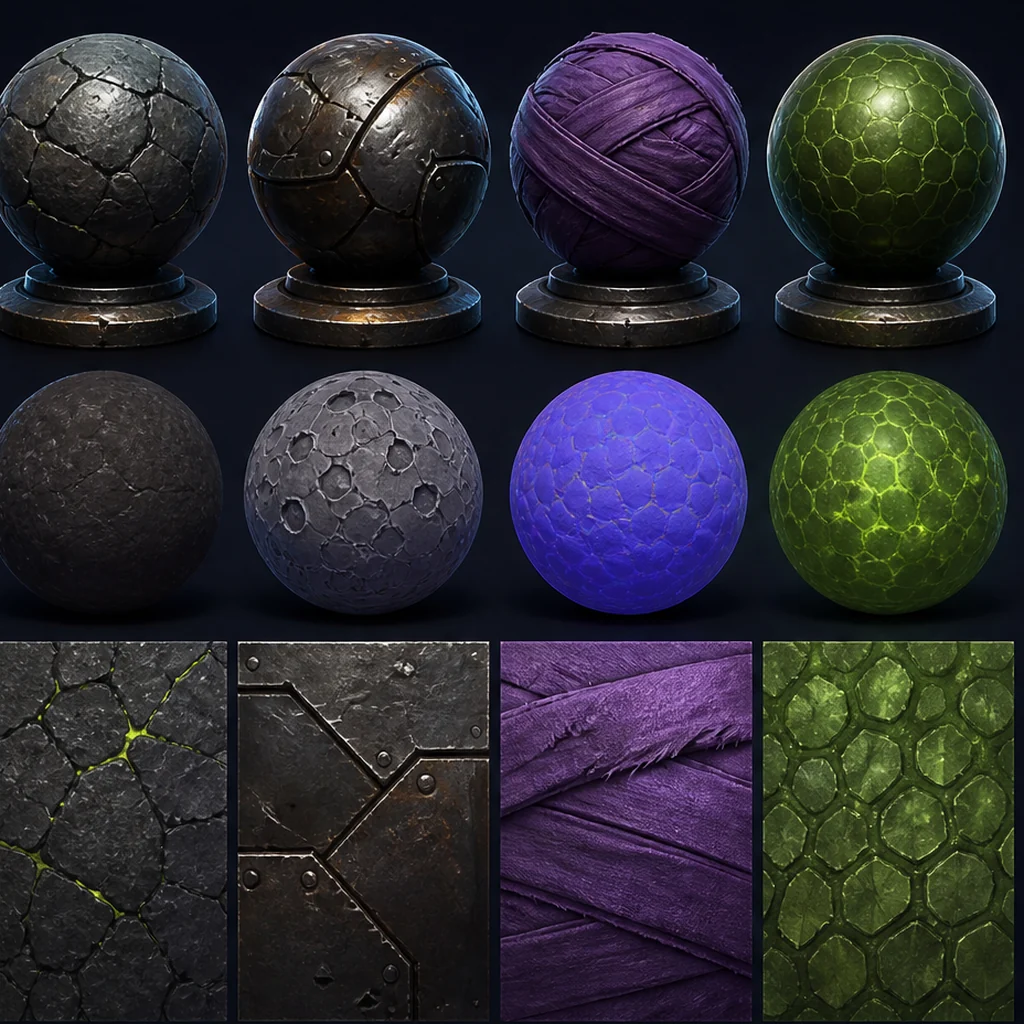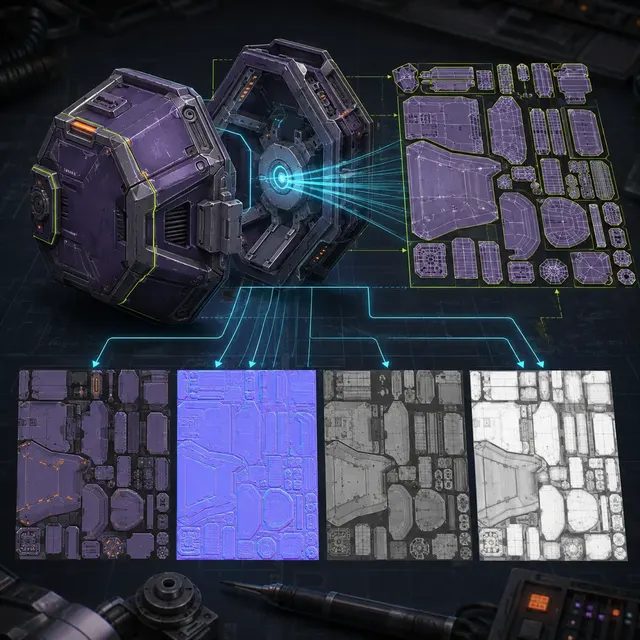
How topology, UVs and baked textures depend on one another
- UV mapping
- Texture baking
- Tangent-space normal map
- Texel density
- Bake cage
- Mipmapping
Final low topology
defines the face corners that receive UV coordinates.
A UV layout and cage
guide the transfer from high detail to texture maps.
Runtime material validation
checks mips, tangents, compression and color space.
Lock the low-detail mesh before serious UV work
A UV coordinate belongs to a mesh face corner, so topology edits can invalidate an otherwise clean layout. Resolve scale, transforms, silhouette, smoothing groups and material regions before the final unwrap. Keep the generated raw mesh and the approved low-detail source as separate files. If the high-detail source contains floating fragments, hidden shells or baked lighting, repair or exclude them before they become texture artifacts that look like a material problem.
Place seams for distortion, readability and maintenance
Cut islands where the physical object already changes direction or material, and hide important seams from common cameras when practical. Measure stretch instead of judging only how neatly islands fill the square. Match texel density to asset class and viewing distance; reserve extra density only for areas that need it. Deliberate overlap can save space for repeated parts, but unique normal, lightmap or damage data may require a separate non-overlapping UV set.
Fix geometry first with the Blender cleanup workflow, so projection errors are not baked from hidden mesh defects.
Bake one channel at a time with an explicit cage
Align the high and low meshes, verify outward normals and use a cage or controlled ray distance that reaches the source without capturing nearby parts. Bake tangent-space normals for the intended tangent convention, then inspect seams and gradients on the low mesh. Base color should not contain accidental lighting. Roughness, metalness, ambient occlusion and emissive data need the correct grayscale or color handling. Record which maps are authored, baked or packed into channels.
Test padding, mips and engine material response
Texture islands that appear separate at full resolution can bleed after mipmapping. Give them padding appropriate to the output size and test distant views, not only the UV editor. Reimport the low mesh and textures from a clean location, rebuild the engine material and inspect neutral light, project light and LOD transitions. Confirm normal-map orientation, sRGB settings and compression for every channel. The bake is accepted only when the runtime material matches the authored intent.
Bake one generated prop from clean sources
Take one repaired prop and duplicate the final low mesh. Create a measured UV layout with a second non-overlapping set if the runtime requires lightmaps. Bake normals, base color, roughness and ambient occlusion one channel at a time. Inspect each at full size and through lower mip levels, then compare the Blender material with a fresh engine import. Log every seam, cage and color-space correction.
UV and bake decisions that affect runtime quality
Maps mesh corners into texture space
Controls which high-detail surface each ray reaches
Reveals mip, tangent and color-space behavior
Generated-asset UV and texture-baking checklist
- Finalize transforms, topology and smoothing before unwrapping.
- Measure distortion, density, overlap and padding.
- Clean and align the high-detail source.
- Bake and inspect each channel separately.
- Validate mips, normal orientation and color space in the engine.
Questions about UV unwrapping and texture baking
Should every UV island have the same scale?
Use consistent texel density for comparable surfaces, then document justified exceptions for focal or reusable areas.
Can mirrored UVs be used with normal maps?
They can, but tangent seams and asymmetric detail need careful testing in the target renderer.
Why does a bake show dark streaks?
Common causes include bad normals, overlapping projection, insufficient cage distance, intersecting parts or tangent mismatch.
Apply this asset production guidance
Begin with a stable, reviewed mesh: Repair the generated source before unwrapping. Then test the resulting channels with: Validate the baked channels as a PBR material. UV efficiency matters only when the bake remains correct at gameplay distance.
Primary sources & technical references
- Blender Manual: UV unwrappingOpen source ↗
- Blender Manual: render bakingOpen source ↗
- Khronos glTF specification and resourcesOpen source ↗
- Unreal Engine: FBX static mesh pipelineOpen source ↗